Here at DevPress, we think all websites should offer visitors a way to connect. One easy way to let your visitors get in touch is to provide a contact form.
Contact forms are great. You can control the kinds of information you request, and have it sent to any email address you’d like, without anyone actually seeing your email address. This prevents spam and also affords you a certain degree of privacy.
To set up a contact form on your WordPress site, there are a few behind the scenes steps you’ll need to do first.
If you haven’t already done so, you’ll need install the Jetpack plugin.
You can download it for free from WordPress.org and install it manually, or navigate to your Plugins tab in your Dashboard, go to “Add New” and search for it there. Once you find it, you can install and activate it right from your Dashboard.
Once Jetpack is active on your site, you’ll need to connect it to an account on WordPress.com. To start this process, you will see this in your Dashboard:
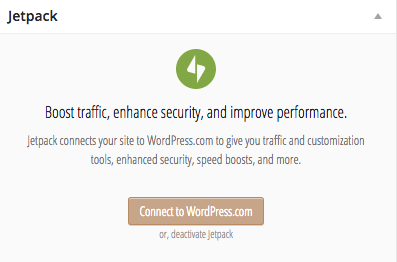
Or you’ll see this in your Plugins tab:

Click one of the two “Connect to WordPress.com” buttons and you’ll be sent to log in to WordPress.com. Note: this is different from your own website’s WordPress installation, and will require a separate login and password. If you don’t already have an account on WordPress.com, the Jetpack plugin will give you the opportunity to create one (and don’t worry, it’s free!).
Once the plugin is connected, pat yourself on the back. Good job! Now you’ll be able to use all of the features in Jetpack.*
For now, though, we’re just going to focus on the Contact Form option.
To add a contact page to your website, go to your Pages tab and create a new page. Give it a title like “Contact us” or whatever you’d like to see in the menu. You should now see a new button to the right of the Add Media option:
![]()
Clicking on that button will bring up a new window where you can set up the contact form the way you want.
By default, the form will have certain fields included. You can use those fields, modify them, or add new ones here.
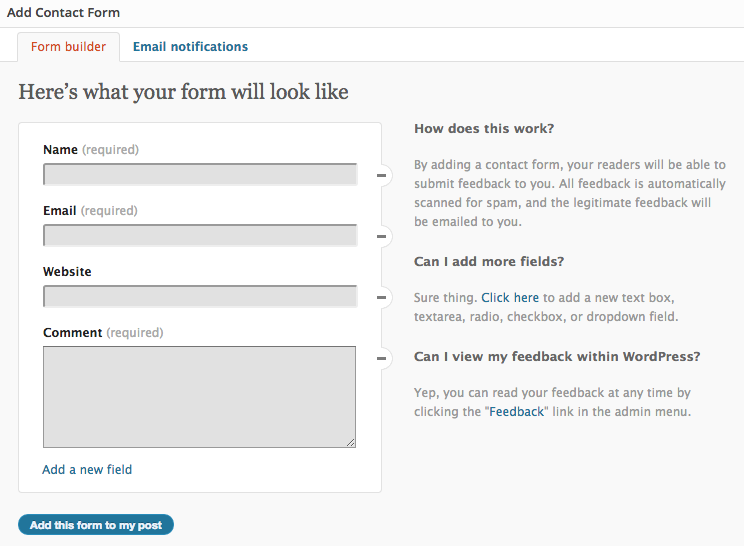
You should note the two tabs here: “Form builder” and “Email notifications.” Click on “Email notifications” before you add the form to your page. (You won’t lose your changes.)
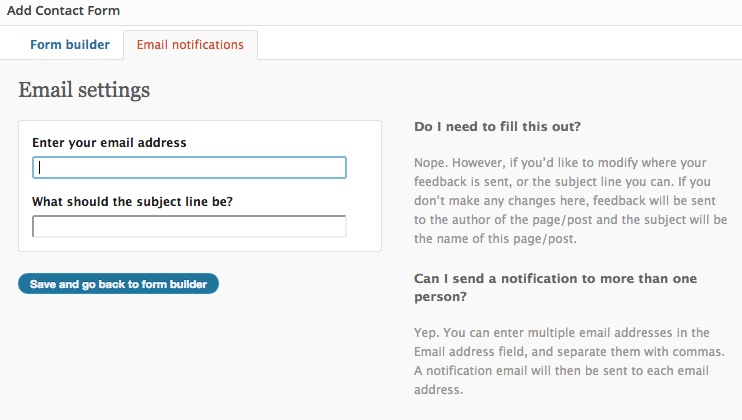
This panel will allow you to change the email address where contact form emails will be sent. This is super handy if you don’t want the emails going to your admin email address (for example, if you’re working on a site for a friend or a client). It also allows you to create a custom subject line. You can put [Contact from Website Name] (with your website name in the brackets) for a quick way to spot and filter emails from the website.
When you go back to the Form builder, you can then add the form to your site. It will look something like this in your editor:
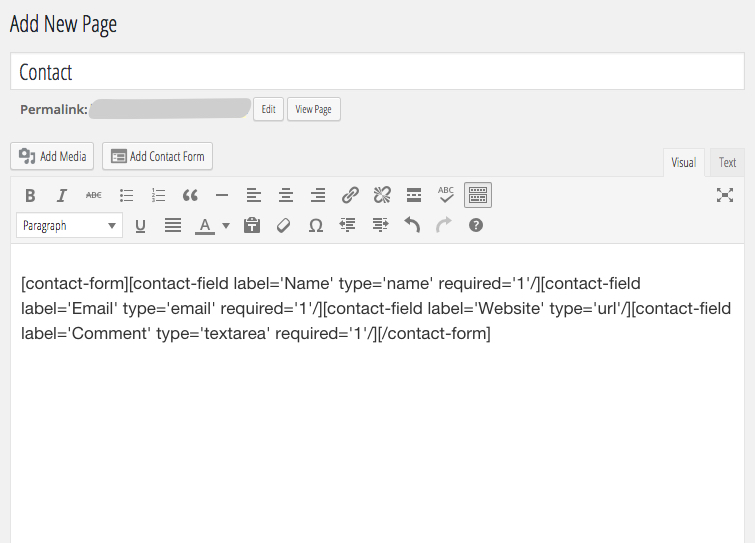
If you want to include any images or a message to your site visitors, you can do so like you would for any other post or page, putting your content above or below the automatically-generated code in brackets.
Once the page is published, your contact form is live! Be sure to test it out, and if you don’t like it, you can delete the code and make a new one at any time.
* Jetpack has a bunch of different modules that provide additional functionality to your site. In future posts we’ll talk about some of the other great options. For now, if you want to read more about it, you can go to the official Jetpack website, where you can read about more about it and seek support if you need help with any of its functionality.