Looking for a way to spice up your WordPress website? With Jetpack, you can transform the WordPress default thumbnail photo gallery into a gallery that shows off your photos in a whole new way. This allows you to post your photos or other images as bold blocks of color that draw the eye and build more visual excitement.
What are Tiled Galleries?
With the default settings in WordPress you can insert a photo gallery that consists of regularly-shaped thumbnails of your images. It’s a nice way to display a lot of photos at once, but the layout is a bit humdrum.

The tiled galleries option uses a special algorithm to put your photos together in a tiled mosaic, with all of your images fitting tightly together in a single rectangle. Some photos will be resized to be larger, which also adds an interesting visual effect to your page.

With the Tiled Gallery option, you can also use fancier square or circle thumbnails or a tiled column display.
How to get Tiled Galleries
Activating Tiled Galleries option is easy. You’ll need to install and activate the Jetpack plugin on your WordPress site if you haven’t already done so. In the Jetpack settings in your Dashboard, find the option for “Tiled Galleries” and make sure that is also activated.
Using Tiled Galleries in a Post or Page
Choose where you’d like the gallery to display. You can add it to any post or page on your site.
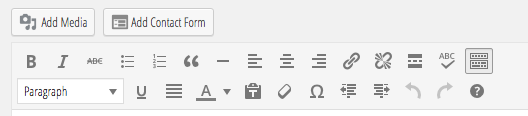
When you’re in the post editor for a new or existing post, click on the “Add Media” button just like you would to add an individual image:
Next, either upload new images or select existing ones, and choose the “Create Gallery” option in the left-hand column in your Media Library. From there, click on each image you wish to include in the gallery, and a checkmark will appear. When you have selected all of the images you wish to use, click on the “Create a New Gallery” button in the lower right-hand corner.
You will be greeted with a brand new view within your Media Library that includes just the photos you selected. You now have options on the right-hand side to select the style of gallery you’d like to use.
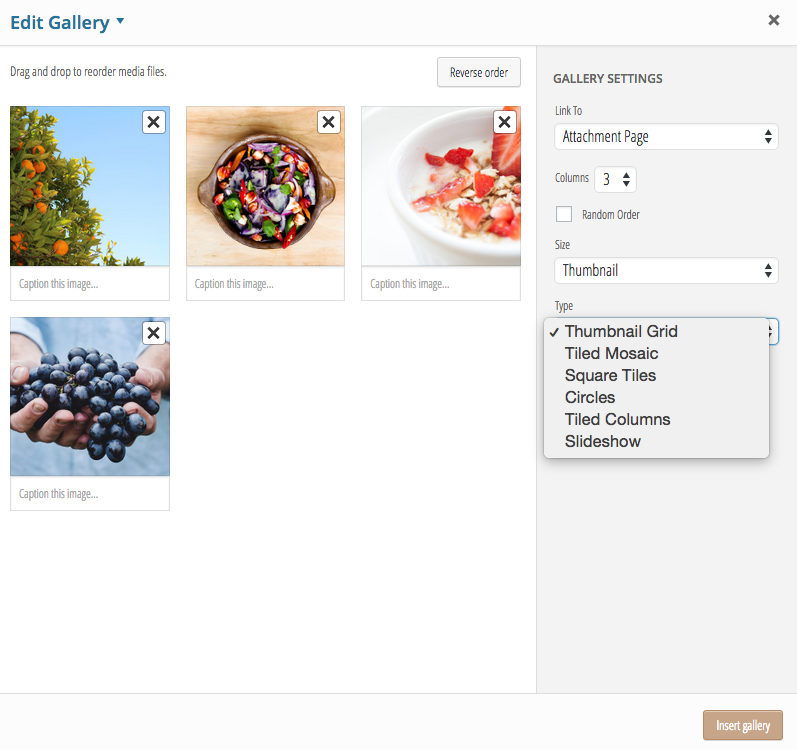
The tiled mosaic gallery is probably the most popular option, but with Jetpack you also get to choose between square tiles, circles, and tiled columns. Some layouts may work better than others with your particular theme, so feel free to experiment. You can always return to this screen later and change the style.
You can also adjust how many columns appear and the size of the images (for non-mosaic options). If you wish, you also can drag and drop the images on this page to reorder them.
Once you’re done with the settings, click on the button in the corner to “Insert Gallery” and the gallery code will appear wherever the cursor was in your post. At this point you can save your post and preview it to see how the gallery will look. If you’re not satisfied with it for any reason, you can return to the gallery settings by returning to the post editor and clicking on the gallery until you see a pencil icon. Clicking on the pencil will return you to the settings page so you can modify the gallery as you wish.
When you insert a jetpack gallery is there a way to add a custom url to each photo. I wanted to use the circle gallery and have each individual pictures link to blog post